Laura’s Gluten-Free Dairy-Free Fried Chicken Tenders (or Breast Chunks).
Hey everyone, it's Jim, welcome to my recipe page. Today, I'm gonna show you how to make a special dish, laura’s gluten-free dairy-free fried chicken tenders (or breast chunks). It is one of my favorites. For mine, I'm gonna make it a bit tasty. This will be really delicious.
Laura’s Gluten-Free Dairy-Free Fried Chicken Tenders (or Breast Chunks) is one of the most favored of current trending foods in the world. It is easy, it's fast, it tastes delicious. It's enjoyed by millions every day. They're fine and they look fantastic. Laura’s Gluten-Free Dairy-Free Fried Chicken Tenders (or Breast Chunks) is something which I have loved my whole life.
To get started with this particular recipe, we must prepare a few components. You can have laura’s gluten-free dairy-free fried chicken tenders (or breast chunks) using 15 ingredients and 9 steps. Here is how you cook it.
Ingredients requirements for Laura’s Gluten-Free Dairy-Free Fried Chicken Tenders (or Breast Chunks):
- Provide About 4 lb. Chicken, trimmed tenders, or chicken breast cut into roughly 1” chunks.
- Require 2 - Large eggs, well-beaten.
- Require 1/4 Cup for Milk (or original Almond Milk).
- Give 1/4 Cup Dill Pickle Juice.
- You need 2 Tbs. - canola oil.
- Require 1-1/2 Tbs. Kosher Salt.
- Give 1 Tbs. for Ground Black Pepper.
- Prepare 1 + Tbs. Onion Powder.
- Give 1 - + Tbs. Garlic Powder.
- Give 1 Tbs. of paprika.
- Require 2 tsp. of Ground coriander.
- You need 1 tsp. - Baking Powder.
- Require 1/4-1/2 tsp. of Cayenne Pepper.
- You need 1-1/2 Cups for Gluten Free Flour (recommend Bob's Red Mill 1 for 1 or Domata Recipe Ready).
- Give 3-4 Quarts - Vegetable or Peanut Oil (for frying).
Laura’s Gluten-Free Dairy-Free Fried Chicken Tenders (or Breast Chunks) instructions:
- In a large bowl combine eggs, milk, pickle juice, canola oil, and seasonings. Beat vigorously for about 1 minute until eggs are well-beaten and mixture is foamy..
- Add baking powder and flour and whisk until well blended. Mixture should be about the consistency of pancake batter..
- Add all the chicken. to the wet mixture. Churn with hands for about 1 minute to work mix into the tenders. Let sit for at least 15-30 minutes. (Or refrigerate for several hours).
- Heat 3-4 quarts of frying oil in a heavy pot or Dutch oven to 350° F. (Tip: The heavier the pan, the better it will retain heat to maintain oil temperature).
- Cook the chicken in small batches to maintain oil temperature, and prevent clumping. Lower tenders into the oil gently and slowly, so not to splash hot oil or knock the batter off..
- Fry for 7-8 minutes (depending on size of pieces) until dark golden brown. Pieces will start to float as they near doneness. As the pieces start to float, gently move and rotate them to ensure even finish of the crust..
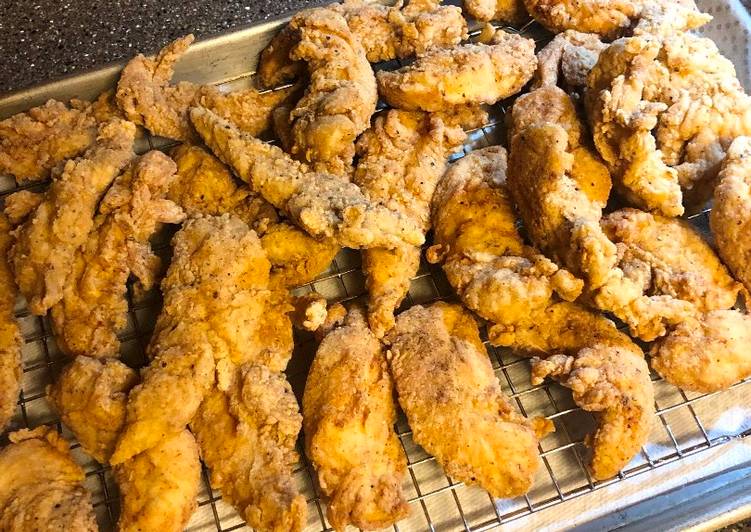
- Remove tenders with tongs (or spider), allow for drip for a few seconds, and place on a wire rack over sheet pan to cool. Make sure to arrange in a single-layer so pieces cool evenly and to prevent moisture from condensing. Moisture will ruin the crunch of the batter!.
- Repeat frying until all the chicken is cooked. Make sure to allow oil to come back up to 350 degrees between batches. Frying in too cold of oil will make the chicken greasy and the crust won’t get as crunchy..
- Lightly sprinkle chicken with sea salt and fresh ground pepper to taste, after frying. Enjoy!.
So that's going to wrap it up with this exceptional food laura’s gluten-free dairy-free fried chicken tenders (or breast chunks) recipe. Thanks so much for reading. I am confident that you can make this at home. There's gonna be more interesting food in home recipes coming up. Remember to bookmark this page on your browser, and share it to your loved ones, colleague and friends. Thanks again for reading. Go on get cooking!
